Markdown 101
This documentation covers everything the theme can do in markdown.
Headings
Heading One
Heading Two
Heading Three
Heading Four
Heading Five
Heading Six
# Heading One

## Heading Two

### Heading Three

#### Heading Four

##### Heading Five

###### Heading Six
Images

Add images to your post using the markdown.
Input:

If you are using site.baseurl in _config.yml you will need to use the following format.
Output:
<img src="/minimal-jekyll-theme/assets/images/stars-small.jpg" alt="northern lights">
Image with caption

Add a caption to your image using the <figure> include.
Input:
{% include figure image_path="/assets/images/macbook-small.jpg" alt="Macbook on a table" caption="Macbook on my office desk" %}
Output:
<figure>
  <img src="/assets/images/macbook-small.jpg" alt="Macbook on a table">
  <figcaption>Macbook on my office desk</figcaption>
</figure>
Centered image with caption

Center images.
Input:
{% include figure image_path="/assets/images/stars-small.jpg" alt="stars" caption="Beautiful night sky." %}{: .tc}
Output:
<figure class="tc">
  <img src="/assets/images/stars-small.jpg" alt="stars">
  <figcaption>Beautiful night sky</figcaption>
</figure>
Image aligned left
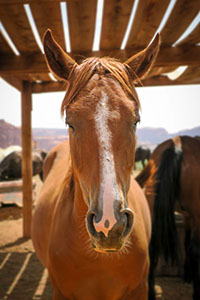
Align an image to the left.
Input:
{% include figure image_path="/assets/images/horse.jpg" alt="photo of a horse" caption="Photo of a horse." %}{: .tl}
Output:
<figure class="tl">
  <img src="/assets/images/horse.jpg" alt="photo of a horse">
  <figcaption>Photo of a horse</figcaption>
</figure>
Image aligned right
Align an image to the right.
Input:
{% include figure image_path="/assets/images/horse.jpg" alt="photo of a horse" caption="Photo of a horse." %}{: .tr}
Output:
<figure class="tr">
  <img src="/assets/images/horse.jpg" alt="photo of a horse">
  <figcaption>Photo of a horse</figcaption>
</figure>
Post width image

Make an image fill the width of a post/page.
Input:
{% include figure image_path="/assets/images/mountains-large.jpg" alt="mountain" caption="Mountain landscape" %}{: .w-100 .tc}
Output:
<figure class="w-100 tc">
  <img src="/assets/images/mountains-large.jpg" alt="mountain">
  <figcaption>Mountain landscape</figcaption>
</figure>
Full width image
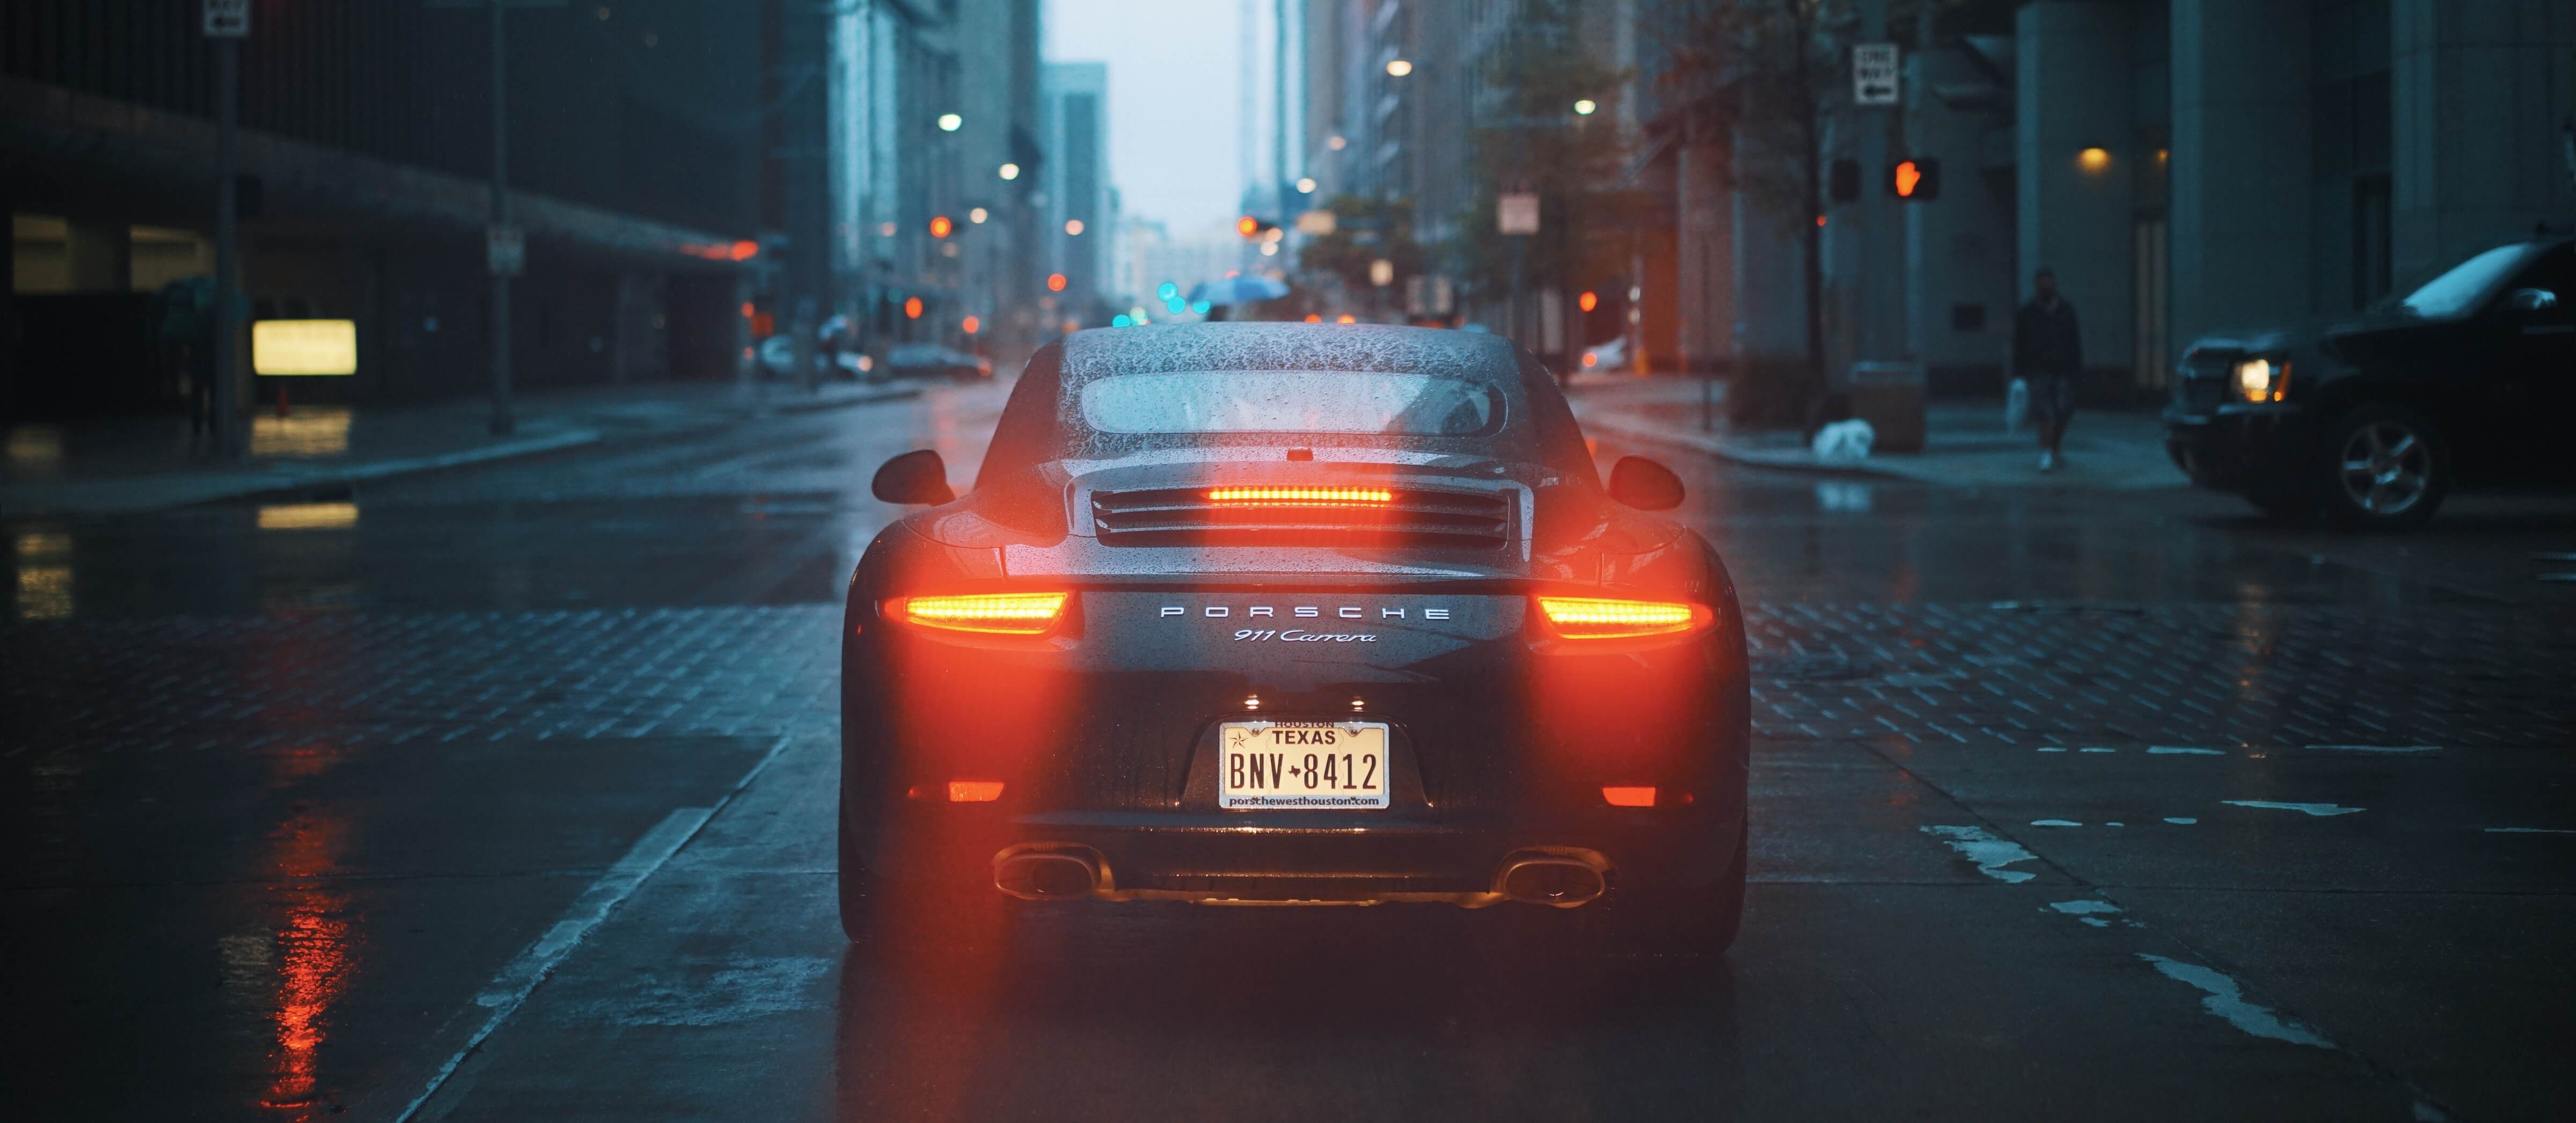
To create a full width image add the class {: .full .tc} to the end of the <figure> include. Please use a large image file.
Input:
{% include figure image_path="/assets/images/porsche-large.jpg" alt="Porsche 911" caption="Porsche 911" %}{: .full .tc}
Output:
<figure class="full tc">
  <img src="/assets/images/porsche-large.jpg" alt="Porsche 911">
  <figcaption>Porsche 911</figcaption>
</figure>
Responsive video
YouTube
Add a responsive Youtube video by using the video include.
Input:
{% include video src="https://www.youtube.com/embed/V2q7-1XppDM" %}
Output:
<div class="aspect-ratio aspect-ratio--16x9 w-100 mb4">
  <iframe class="aspect-ratio--object" src="https://www.youtube.com/embed/V2q7-1XppDM" frameborder="0" allowfullscreen></iframe>
</div>
Vimeo
Add a responsive Vimeo video by using the video include.
Input:
{% include video src="https://player.vimeo.com/video/159104382" %}
Output:
<div class="aspect-ratio aspect-ratio--16x9 w-100 mb4">
  <iframe class="aspect-ratio--object" src="https://player.vimeo.com/video/159104382" frameborder="0" allowfullscreen></iframe>
</div>
Blockquotes
Single line blockquote.
I am not talented, I am obsessed
Input:
>I am not talented, I am obsessed
Output:
<blockquote>
  <p>I am not talented, I am obsessed</p>
</blockquote>
Multi line blockquote with a cite reference.
There’s no talent here, this is hard work. This is an obsession. Talent does not exist, we are all equal as human beings. You could be anyone if you put in the time. You will reach the top, and that’s that. I am not talented, I am obsessed.
— Conor McGregor
Input:
>There's no talent here, this is hard work. This is an obsession. Talent does not exist, we are all equal as human beings. You could be anyone if you put in the time. You will reach the top, and that’s that. I am not talented, I am obsessed.
>
> --- <cite>Conor McGregor</cite>
Output:
<blockquote>
  <p>There’s no talent here, this is hard work. This is an obsession. Talent does not exist, we are all equal as human beings. You could be anyone if you put in the time. You will reach the top, and that’s that. I am not talented, I am obsessed.</p>

  <p>— <cite>Conor McGregor</cite></p>
</blockquote>
Tables
Minimal table
Input:
| Employee                 | Salary |                            |
| ------------------------ | ------ | -------------------------- |
| [John Joe](#)            | $1     | Needs a better salary      |
| [Jane Doe](#)            | $10K   | Blogging intern            |
| [Joe Bloggs](#)          | $25k   | Photographer               |
| [Jane Bloggs](#)         | $100k  | Marketer & Copywriter      |
Output:
| Employee | Salary | |
|---|---|---|
| John Joe | $1 | Needs a better salary |
| Jane Doe | $10K | Blogging intern |
| Joe Bloggs | $25k | Photographer |
| Jane Bloggs | $100k | Marketer & Copywriter |
Table with a footer.
Input:
| Header1  | Header2 | Header3  |
|:---------|:-------:|---------:|
| cell1    | cell2   | cell3    |
| cell4    | cell5   | cell6    |
|-------------------------------|
| cell1    | cell2   | cell3    |
| cell4    | cell5   | cell6    |
|===============================|
| Footer1  | Footer2 | Footer3  |
Output:
| Header1 | Header2 | Header3 |
|---|---|---|
| cell1 | cell2 | cell3 |
| cell4 | cell5 | cell6 |
| cell1 | cell2 | cell3 |
| cell4 | cell5 | cell6 |
| Footer1 | Footer2 | Footer3 |
Codeblocks
Input:
```ruby
def show
  @widget = Widget(params[:id])
  respond_to do |format|
    format.html # show.html.erb
    format.json { render json: @widget }
  end
end
```
Output:
def show
  @widget = Widget(params[:id])
  respond_to do |format|
    format.html # show.html.erb
    format.json { render json: @widget }
  end
end
Codeblock with line numbers
Input:
{% highlight ruby linenos %}
def show
  @widget = Widget(params[:id])
  respond_to do |format|
    format.html # show.html.erb
    format.json { render json: @widget }
  end
end
{% endhighlight %}
Output:
1
2
3
4
5
6
7
def show
  @widget = Widget(params[:id])
  respond_to do |format|
    format.html # show.html.erb
    format.json { render json: @widget }
  end
end
Command line prompt
Input:
{% highlight shell %}
gem install jekyll
{% endhighlight %}
Output:
Notice the “$” command line symbol is added for you automatically.
gem install jekyllCode in a paragraph
Input:
This is what `<html>` code looks like in a paragraph of text.
Output:
This is what <html> code looks like in a paragraph of text.
List Types
Definition Lists
Input:
Definition
:   An exact statement or description of the nature, scope, or meaning of something: *our definition of what constitutes poetry*.
Output:
- Definition
- An exact statement or description of the nature, scope, or meaning of something: our definition of what constitutes poetry.
Unordered Lists (Nested)
Input:
* List item one
    * List item one
        * List item one
        * List item two
        * List item three
        * List item four
    * List item two
    * List item three
    * List item four
* List item two
* List item three
* List item four
Output:
- List item one
- List item one
- List item one
- List item two
- List item three
- List item four
- List item two
- List item three
- List item four
- List item one
- List item two
- List item three
- List item four
Ordered List (Nested)
Input:
1. List item one
    1. List item one
        1. List item one
        2. List item two
        3. List item three
        4. List item four
    2. List item two
    3. List item three
    4. List item four
2. List item two
3. List item three
4. List item four
Output:
- List item one
- List item one
- List item one
- List item two
- List item three
- List item four
- List item two
- List item three
- List item four
- List item one
- List item two
- List item three
- List item four
Buttons
A small collection predefined button styles, each serving its own semantic purpose.
Primary Secondary Success Warning Danger Info Light Dark
[primary](#){: .btn .btn--primary}
[secondary](#){: .btn .btn--secondary}
[success](#){: .btn .btn--success}
[warning](#){: .btn .btn--warning}
[danger](#){: .btn .btn--danger}
[info](#){: .btn .btn--info}
[light](#){: .btn .btn--light}
[dark](#){: .btn .btn--dark}
Outline buttons
An alternative collection of predefined button styles.
Primary Secondary Success Warning Danger Info Light Dark
[primary](#){: .btn .btn-outline--primary}
[secondary](#){: .btn .btn-outline--secondary}
[success](#){: .btn .btn-outline--success}
[warning](#){: .btn .btn-outline--warning}
[danger](#){: .btn .btn-outline--danger}
[info](#){: .btn .btn-outline--info}
[light](#){: .btn .btn-outline--light}
[dark](#){: .btn .btn-outline--dark}
Button sizes
[extra large](#){: .btn .btn-outline--primary .btn--x-large}
[extra large](#){: .btn .btn--primary .btn--x-large}
[large](#){: .btn .btn-outline--primary .btn--large}
[large](#){: .btn .btn--primary .btn--large}
[medium](#){: .btn .btn-outline--primary}
[medium](#){: .btn .btn--primary}
[small](#){: .btn .btn-outline--primary .btn--small}
[small](#){: .btn .btn--primary .btn--small}
Create block level buttons that span the full width of a parent.
Block level button Block level button
[Block level button](#){: .btn .btn--primary .btn--block}
[Block level outline button](#){: .btn .btn-outline--primary .btn--block}
Add classes for uppercase, capitalised and lowercase buttons.
uppercase capitalised LOWERCASE
[uppercase](#){: .btn .btn--primary .ttu}
[capitalised](#){: .btn .btn-outline--primary .ttc}
[LOWERCASE](#){: .btn .btn--primary .ttl}
Animate buttons with some hover effects
[grow](#){: .btn .btn-outline--primary .grow}
[glow](#){: .btn .btn--primary .glow .o-80}
[dim](#){: .btn .btn--primary .dim}
Alerts
Provide contextual feedback messages for typical user actions with the handful of available and flexible alert messages
Beautiful notices that are designed to grab a visitors attention.
Beautiful notices that are designed to grab a visitors attention.
Beautiful notices that are designed to grab a visitors attention.
Beautiful notices that are designed to grab a visitors attention.
Beautiful notices that are designed to grab a visitors attention.
Beautiful notices that are designed to grab a visitors attention.
Beautiful notices that are designed to grab a visitors attention.
Beautiful notices that are designed to grab a visitors attention.
your text here
{: .alert .alert--primary}

your text here
{: .alert .alert--secondary}

your text here
{: .alert .alert--success}

your text here
{: .alert .alert--warning}

your text here
{: .alert .alert--danger}

your text here
{: .alert .alert--info}

your text here
{: .alert .alert--light}

your text here
{: .alert .alert--dark}
Links
Mix and match different css classes to create different link styles.
Primary link - Set primary colors in variables.scss.
You can mix and match colours from _skins.scss or create your own classes.
blue link black link green link gray link yellow link gold link orange light-purple link pink/ hover light pink dark-pink/ hover hot pink red link/ hover dark red
[Primary link](#)
[Open link in new tab](https://google.com){:target="_blank"}
[Link title on hover](# "Google")
[Dim on hover](#){: .dim}
[Link without underline](#){: .link}
[Underline on hover](#){: .link .underline-hover .hover-black}
[blue link](#){: .blue .hover-blue}
[black link](#){: .black .hover-black}
[green link](#){: .green .hover-green}
[gray link](#){: .gray .hover-gray}
[yellow link](#){: .yellow .hover-yellow}
[gold link](#){: .gold .hover-gold}
[orange](#){: .orange .hover-orange}
[light-purple link](#){: .light-purple .hover-light-purple}
[pink/ hover light pink](#){: .pink .hover-light-pink}
[dark-pink/ hover hot pink](#){: .dark-pink .hover-hot-pink}
[red link/ hover dark red](#){: .red .hover-dark-red}
HTML Tags
Address Tag
Input:
<address>
  1 Infinite Loop<br/> Cupertino, CA 95014<br/> United States
</address>
Output:
1 Infinite LoopCupertino, CA 95014
United States
Abbreviation Tag
Input:
The abbreviation CSS stands for "Cascading Style Sheets".

*[CSS]: Cascading Style Sheets
Output:
The abbreviation CSS stands for “Cascading Style Sheets”.
Cite Tag
Input:
"Code is poetry." ---<cite>Automattic</cite>
Output:
“Code is poetry.” —Automattic
Strike Tag
Input:
This tag will let you <strike>strikeout text</strike>.
Output:
This tag will let you strikeout text.
Emphasize Tag
Input:
The emphasize tag should *italicize* text.
Output:
The emphasize tag should italicize text.
Insert Tag
Input:
This tag should denote updated text <ins>inserted</ins> in a blog post.
Output:
This tag should denote updated text inserted in a blog post.
Keyboard Tag
Input:
This scarcely known <kbd>keyboard tag</kbd> emulates represents user input and produces an inline element displayed in the browser's default monospace font.
Output:
This scarcely known keyboard tag emulates represents user input and produces an inline element displayed in the browser’s default monospace font.
Footnotes
Input:
I get 10 times more traffic from [Google] [^1] than from
[Yahoo] [^2] or [MSN] [^3].
Output:
I get 10 times more traffic from [Google] 1 than from [Yahoo] 2 or [MSN] 3.
Strong Tag
Input:
This tag makes **bold text, try not to overuse it tho**.
Output:
This tag makes bold text, try not to overuse it tho.
Subscript Tag
Input:
C<sub>6</sub>H<sub>12</sub>O<sub>6</sub>
Output:
C6H12O6
Superscript Tag
Input:
E = mc<sup>2</sup>
Output:
E = mc2
Variable Tag
Input:
The variable tag allows you to denote <var>variables</var>.
Output:
The variable tag allows you to denote variables.
Horizontal Rules
Input:
***
Output:
Mark Tag
Input:
The <mark>mark tag allows you to highlight parts </mark> of your text.
Output:
The mark tag allows you to highlight parts of your text.
Footnotes reference
Input:
[^1]: http://google.com/        "Google"
[^2]: http://search.yahoo.com/  "Yahoo Search"
[^3]: http://search.msn.com/    "MSN Search"
Output: